Super Cute Chibis To Draw And Paint
how to draw cute chibi
7,689 views
How to chibi
1. Basic understanding of chibi
1) What is chibi
Overseas, it is called chibi, or SD (super deformed), as it is a style of painting that is simpler than the normal character's head-to-head ratio and maximizes cuteness and casualness. In general, a person who is about 2 to 3.5 in height based on the size of the head can fall into the category of SD. You can create a variety of images according to your personal style, and it is one of the most popular expression techniques in the character market. There are two great features of chibi.
2) The difference between SD and LD
First, it feels much more simplified than LD (Low Deformed) with a ratio of about 4 to 8 heads. The size of the face and the torso are proportional to 1:1, and the limbs are short and simple. In general, the fingers and toes are often simplified, and compared to LD, where the skeleton of the body is prominent according to gender, the overall physical characteristics are weak and have a round skeleton.
The overall body shape is also noticeably different. Compared to Low Deforme, which harmonizes various shapes for each joint, chibis has simplified shapes. Drawing the chibis will be much easier to understand once you know this difference for sure.
3) Emphasis and Omission
Second, it emphasizes the distinctive features and omits some details. Among the characteristics of the character, the important parts are emphasized and the parts that can be omitted are simplified. This part can be adjusted in various ways at the artist's discretion, and since the standards of 'emphasis' and 'omitting' are different for each individual, if you find cute points that you can express yourself while drawing, you can become a chibi with a much stronger personality. there will be!
This part will be explained in detail in 3. Sketch!
2. Various expressions of SD
1) Deforme
Even with strong deformation, it is not much different from the existing human body proportions. Depending on the position of the eyes, nose, and mouth, a slight age difference may be revealed, and the description of the joints and hands and feet varies according to the proportions. There is also a two-headed chibi, but it can correspond to 2.5-4 heads by dividing the ratio a little more. The thing to note when drawing SD (chibi) here is that chibi also has a neck, so it is small and invisible, and if you omit this part, the picture may look awkward. It is an important part that connects the head and body, so make sure to think about the location and draw.
2) Expression
One of the two ways to make a character's personality stand out is through facial expressions. By expressing various human emotions such as joy, sadness, anger, love, etc., it makes the character feel three-dimensional. You can make a clear difference by mainly expressing your emotions by changing the shape of your eyebrows and mouth. If you want a cartoon-like expression, you can refer to animations or movies!
Tip: If you boldly express an expression that fits your character's personality, it will appeal to you.
Now, while looking at my work process, I will tell you about things to keep in mind when drawing chibi and how to effectively appeal to a character. If anyone has a little difficulty drawing chibi, please take a look at this tutorial and I hope it helps a lot!
3. Sketch
1) Pen settings and pen to be used
These are the pen materials I mainly use. You don't necessarily have to use a brush like mine. Any pen you use often or your favorite pen...etc. is fine. Use your favorite pen! I think finding the right pen setup for your hand is also an important part.
https://assets.clip-studio.com/en-us/detail?id=1751921 https://assets.clip-studio.com/en-us/detail?id=1751921
https://assets.clip-studio.com/en-us/detail?id=1719585 https://assets.clip-studio.com/en-us/detail?id=1719585
https://assets.clip-studio.com/en-us/detail?id=1799860 https://assets.clip-studio.com/en-us/detail?id=1799860
https://assets.clip-studio.com/en-us/detail?id=1759953 https://assets.clip-studio.com/en-us/detail?id=1759953
2) Sketch
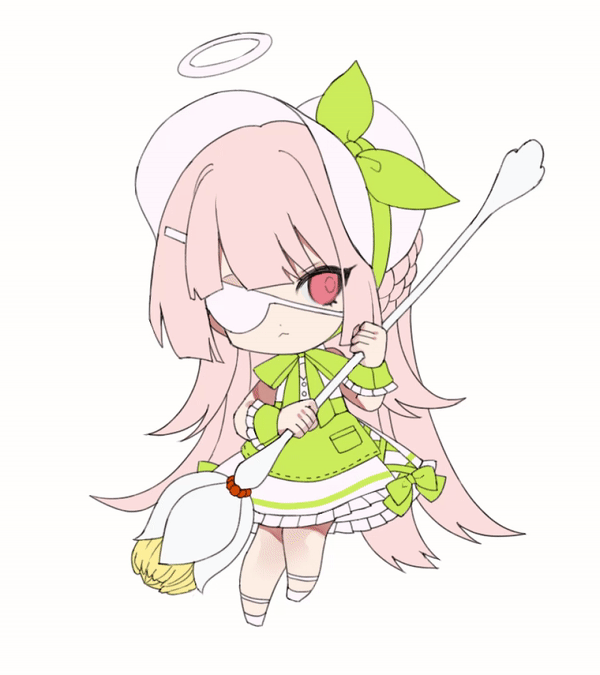
I will draw chibi using my original character. Based on this character, I sketch the characteristics mentioned in 'Emphasis and Omission'. First, let's find a point to emphasize. The bonnet worn on the head, the ribbon under the chin, and the voluminous dress will be the points. Focus on these three points and work with other elements a little bit.

When posing, pay attention to the relationship between the head and torso, and make sure to check the position of the neck.
Figure out the structure of the costume the character is wearing, and draw it while thinking about the flow of the lines. Because she is a girl with a mysterious atmosphere wearing an eye patch, she draws her expression bluntly.
tip2: It is also good to draw a dynamic movement using props that match the character. You can bring your character to life by having them in active poses.
Since I work in a way that builds up descriptions based on neat line art, I proceed carefully from the rough to the line drawing. If you like the basic rough, you will work on the line art.
4. Color and Rendering
1) Coloring
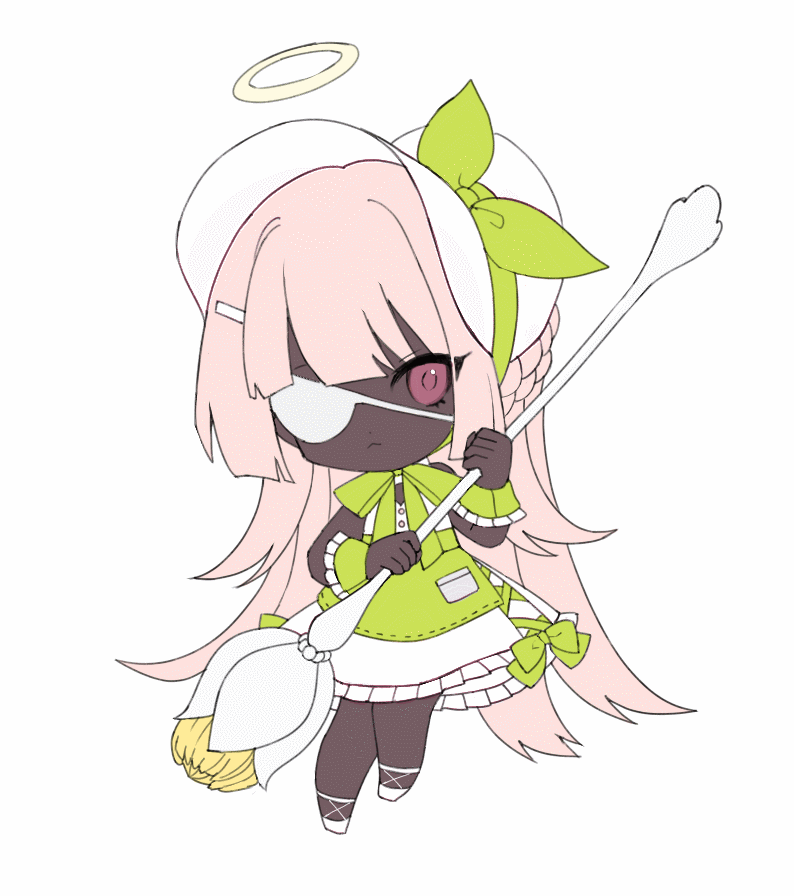
You can directly fill in the underlying color with a brush, but you can greatly shorten the work time by using the paint tool to fill in a large area and filling in the gaps with a brush. In addition, if you create a layer folder and work by separating layers according to parts, it is easy to edit them later.
For full-fledged coloring, press Ctrl+U to adjust Hue/Saturation/Brightness.
If the area inside the line is filled, check the overall color. Even the same color can be expressed differently depending on the brightness and saturation. When the saturation is high, it gives a brighter and more clear image, and when the saturation is low, it gives a calm and static image. There are similar and complementary colors that match each color. You can create a unique atmosphere by arranging colors with the same brightness and saturation, or by increasing the saturation of a color that is a point.
Overall, the character has a strong white tone, but it uses a bright pastel-based color with high brightness to separate it from overlapping highlights (white) that will be corrected later.
2) Description
First, describe the contrast in dark places. If you use'black' because it is dark or shadow, the picture becomes very dark, so if you use a color with a similar contrast after clicking the base color used with the eyedropper and moving the position of the color spectrum a little, you can have a richer color. .

(*How to shade for light skin color.gif)
I used the time-lapse function to take a picture of a light skin color shade.

In my case, I tend to keep adjusting the colors in the middle of work, thinking about which color is closer between a cool tone and a warm tone to match my skin tone. After the skin color, I put the description in the order of the large wrinkles on the clothes and the hair. Add a decorative element by adding lines to the empty areas during work. In the case of a face with a large lump, dividing it by adding a texture or pattern has the effect of filling in the emptiness.
When the description is complete, change the color of the line art to balance the overall color. If the line art layer is separated, add a layer and set it as a clipping mask. Pick the color of the layer with the eyedropper and change it to a color close to the color spectrum before coloring.
<1> Combines lines and colors.
<2> Combine '<1>' with the coloring layer.
5. Gradient & Overlay
I'm going to give it an overlay effect to give it a little more sparkle. Add an overlay layer.
(*tip: As for the overlay, light colors give screen effects and dark colors give multiplication effects.)
Extract colors with similar saturation and gently rub with 'spray'. If you go in too hard, the color will splatter, so paint a little!
If you use a gradation map here, you can match the overall color balance and create a variety of expressions such as a little retro feel or a more calm feeling.
6. Layout
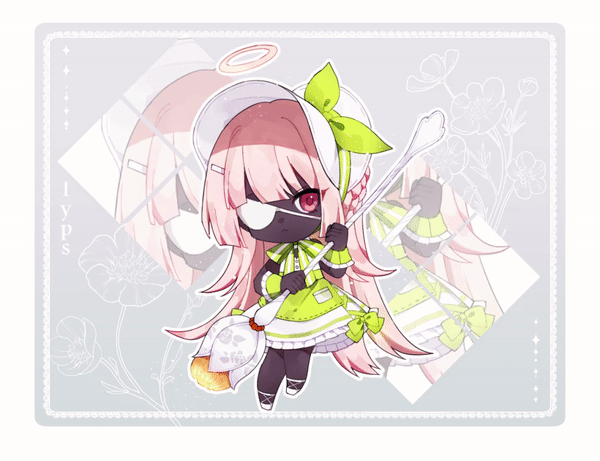
This part is an additional content part to decorate after completing the chibi.
Decorate your chibi beautifully by applying it!

complete
It's finally complete. Drawing chibi is always fun because it's like drawing a fairy.
If you have any questions or want feedback, please leave a comment!
Draw your cute chibis.
Thanks for watching the tutorial!
(*Ps.^^ Number of fingers.. I corrected it, thanks for letting me know!)
Users who liked this post
Super Cute Chibis To Draw And Paint
Source: https://tips.clip-studio.com/en-us/articles/4898
Posted by: thibaultdianow.blogspot.com

0 Response to "Super Cute Chibis To Draw And Paint"
Post a Comment